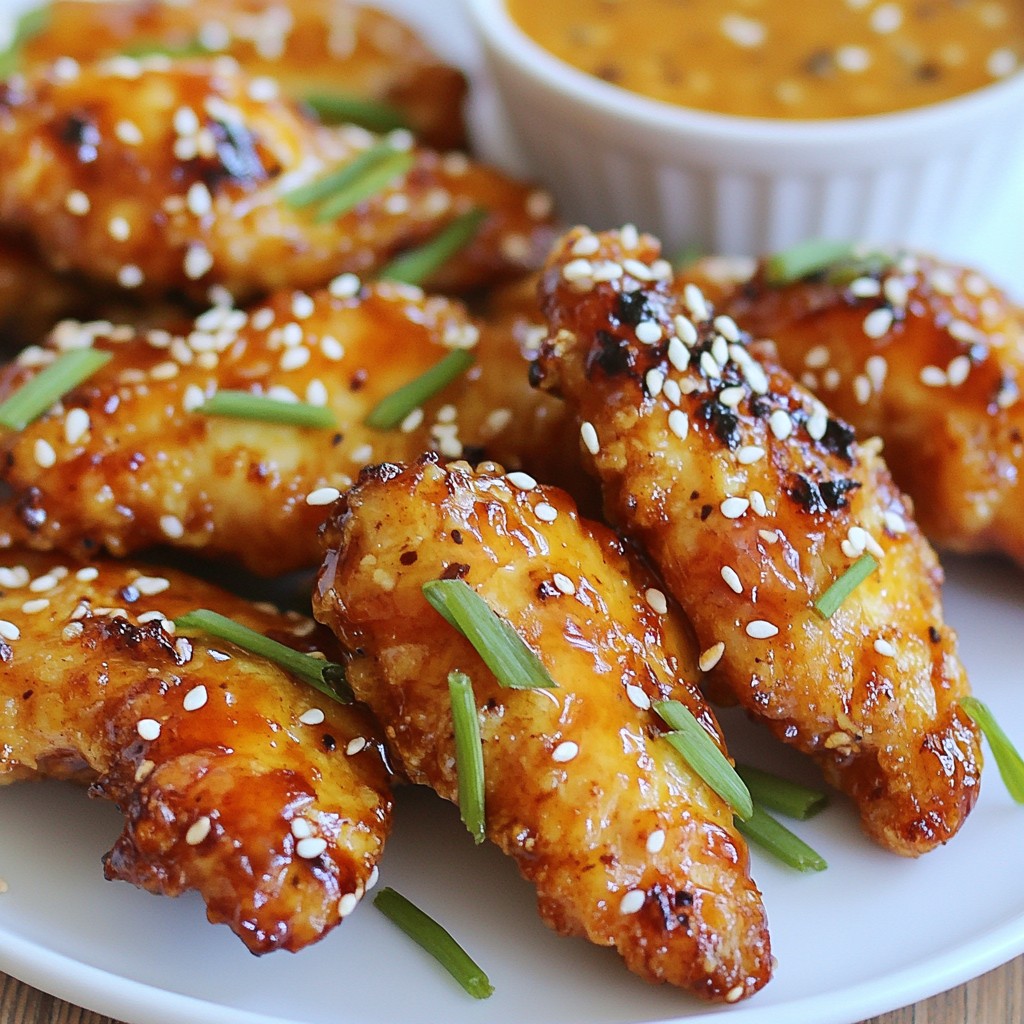
Get ready to spice up your dinner! These Spicy Honey Garlic Chicken Tenders are crispy, savory, and oh-so-delicious. Perfect for family meals or game day snacks, they’re easy to make and bursting with flavor. In this post, I'll share step-by-step instructions, tips for achieving the perfect crunch, and ideas for serving. Let’s dive into this tasty adventure that will make your taste buds dance!
Why I Love This Recipe
- Bold Flavor Combination: The sweet honey, savory garlic, and spicy sriracha create a perfect balance that elevates ordinary chicken tenders to a whole new level.
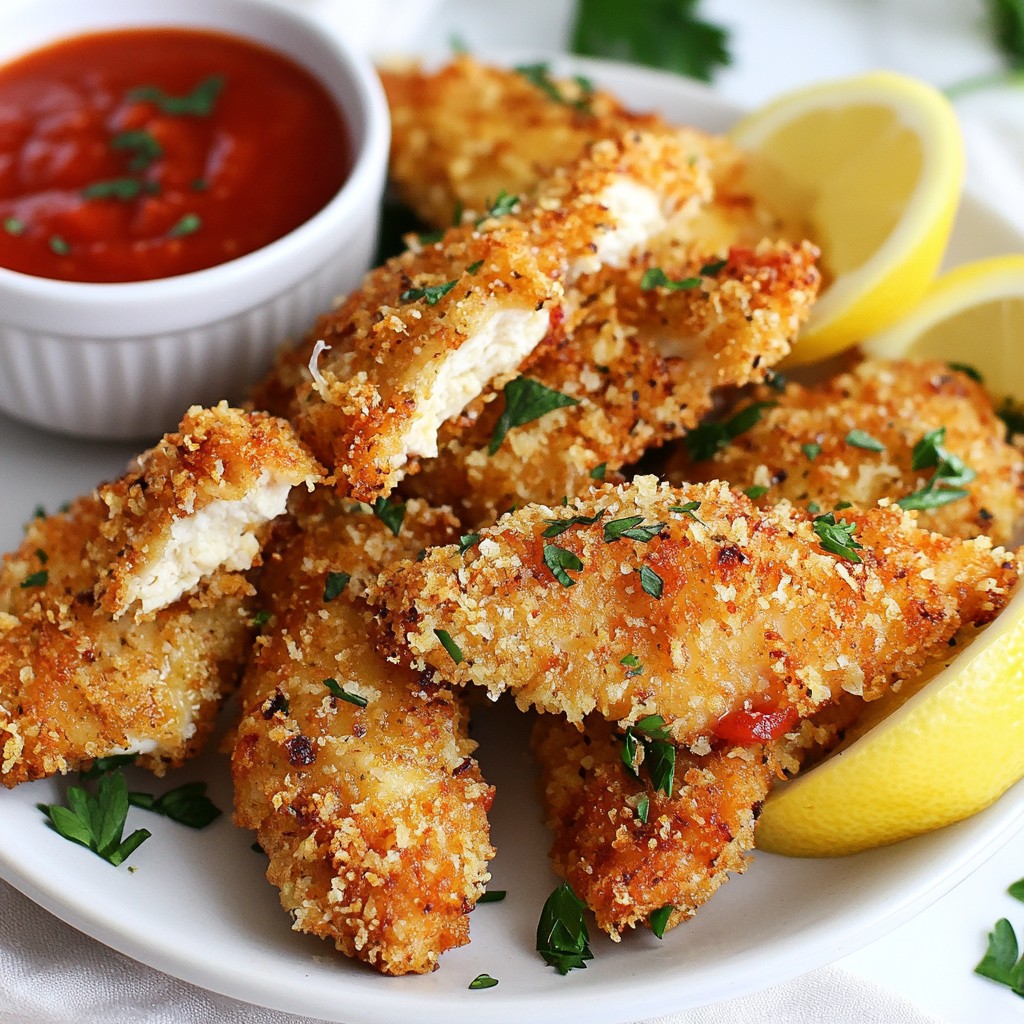
- Crispy Texture: Using panko breadcrumbs ensures a super crispy exterior that contrasts beautifully with the tender, juicy chicken inside.
- Quick and Easy: This recipe is simple enough for a weeknight dinner, yet impressive enough to serve at gatherings or parties.
- Customizable Heat: Adjust the amount of sriracha to suit your spice preference, making it a versatile dish for all taste buds.
Ingredients
Main Ingredients
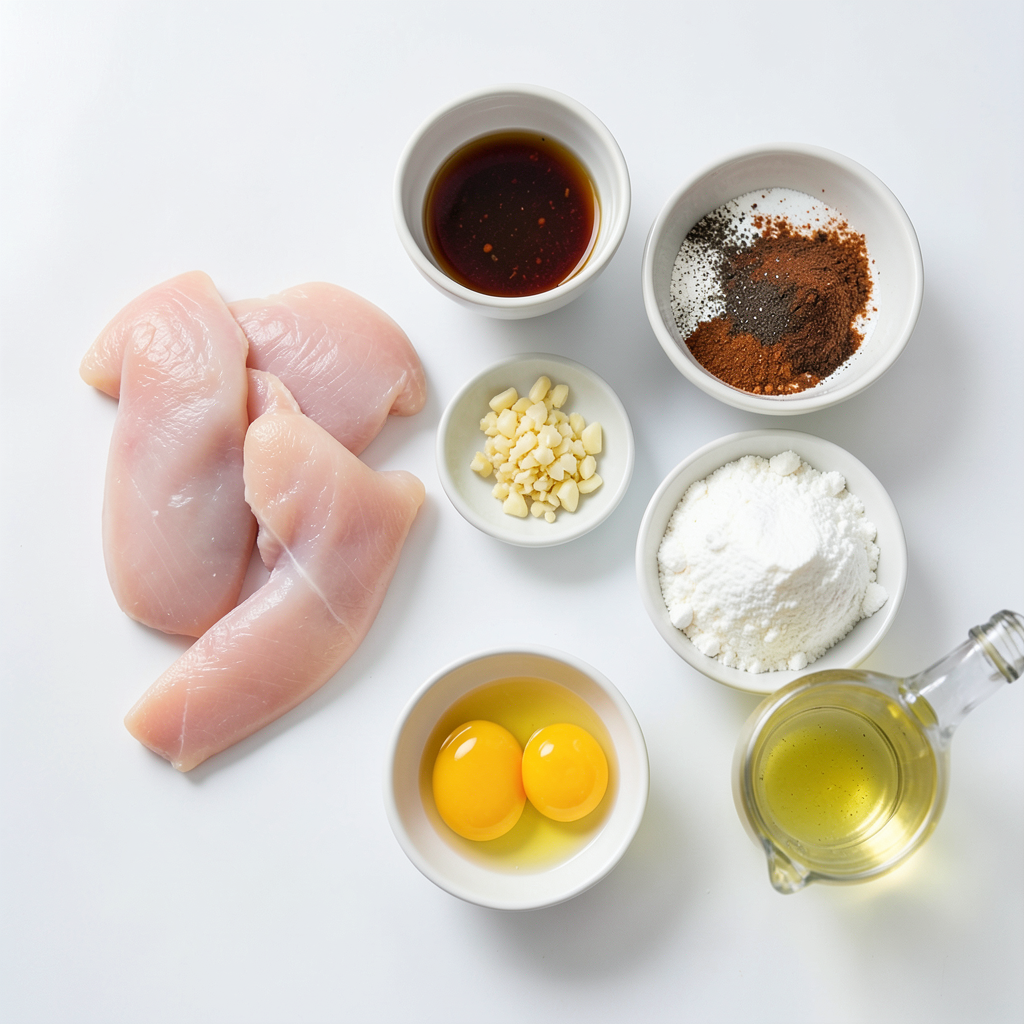
- 1 pound boneless, skinless chicken tenders
- 1/2 cup honey
- 4 cloves garlic, minced
- 1 tablespoon soy sauce
- 1 tablespoon sriracha (adjust for spice level)
- 1 teaspoon smoked paprika
- 1/2 teaspoon black pepper
- Salt to taste
The chicken tenders are the star. They are juicy and tender. Honey adds sweetness, while garlic gives a nice kick. Soy sauce adds saltiness, and sriracha brings heat. Smoked paprika adds a smoky flavor, and black pepper adds depth.
Coating Ingredients
- 1 cup flour
- 2 eggs, beaten
- 1 cup panko breadcrumbs
The coating helps the tenders become crispy. Flour gives a base, while eggs help the breadcrumbs stick. Panko breadcrumbs create a light, crunchy texture. This three-step breading process makes all the difference.
Oil for Frying
- Best oil choices for frying: vegetable oil, canola oil, or peanut oil
Choosing the right oil matters. Vegetable and canola oil have high smoke points. Peanut oil adds a subtle flavor. Make sure to heat the oil to the right temperature. This helps achieve that golden crisp.
Step-by-Step Instructions
Marinating the Chicken
To start, you will prepare the marinade. In a bowl, mix together honey, minced garlic, soy sauce, sriracha, smoked paprika, black pepper, and salt. This blend gives the chicken a sweet and spicy kick.
Next, add the chicken tenders to the marinade. Make sure each piece gets a good coating. Cover the bowl and put it in the fridge for at least 30 minutes. If you can wait, let it sit for up to 2 hours. This resting time is key for flavor.
Setting Up the Breading Station
Now it’s time to set up your breading station. Grab three shallow dishes. In the first dish, place flour. In the second, add beaten eggs. In the last dish, put panko breadcrumbs.
This setup makes the breading process easier and neater. You’ll grab the chicken tenders and move them through each dish in order.
Breading the Chicken
Once the chicken has marinated, take it out of the fridge. Start with the flour. Dredge each tender, shaking off the extra flour.
Next, dip the chicken in the beaten eggs, ensuring it's fully coated. Finally, roll it in panko breadcrumbs. Press gently to make sure the crumbs stick well. This technique helps create an even and crispy coating.
Frying the Chicken
For frying, you need to heat about 1/2 inch of oil in a large skillet over medium-high heat. To test if the oil is ready, drop a small piece of bread in it. If it sizzles right away, you’re good to go.
Carefully add the breaded chicken tenders to the hot oil. Make sure not to crowd the pan. Fry each tender for 3-4 minutes on both sides. Look for a golden brown color. Use a meat thermometer to check that the chicken reaches 165°F (75°C).
Draining and Serving
Once the chicken is cooked, remove it from the oil. Place it on a plate lined with paper towels to drain the excess oil. This step keeps your tenders crispy.
For serving, consider drizzling extra honey-garlic sauce over the tenders for added flavor. You can serve them on a large platter with a side of dipping sauce made from the leftover marinade. Garnish with sesame seeds and chopped green onions for a colorful touch.
Tips & Tricks
Perfecting the Bite
To adjust spice levels, start with a small amount of sriracha. You can always add more later. If you want less heat, use less sriracha or skip it. The honey balances the heat well.
Marinating longer enhances flavor. I recommend at least 30 minutes. For extra flavor, marinate for up to 2 hours. Just remember, do not exceed this time. The chicken can become too salty.
Achieving Crispy Coating
Panko breadcrumbs are key for a crispy coating. They are lighter than regular breadcrumbs. When you press them onto the chicken, make sure they stick well. This helps create a great crunch.
For alternative breading, try crushed cornflakes or tortilla chips. Both give a nice crunch too. Just remember to coat the chicken well with the egg mixture first.
Pairing and Presentation
For dipping sauces, use the leftover marinade. Just heat it up to make it safe. You can also try ranch or a spicy aioli for variety.
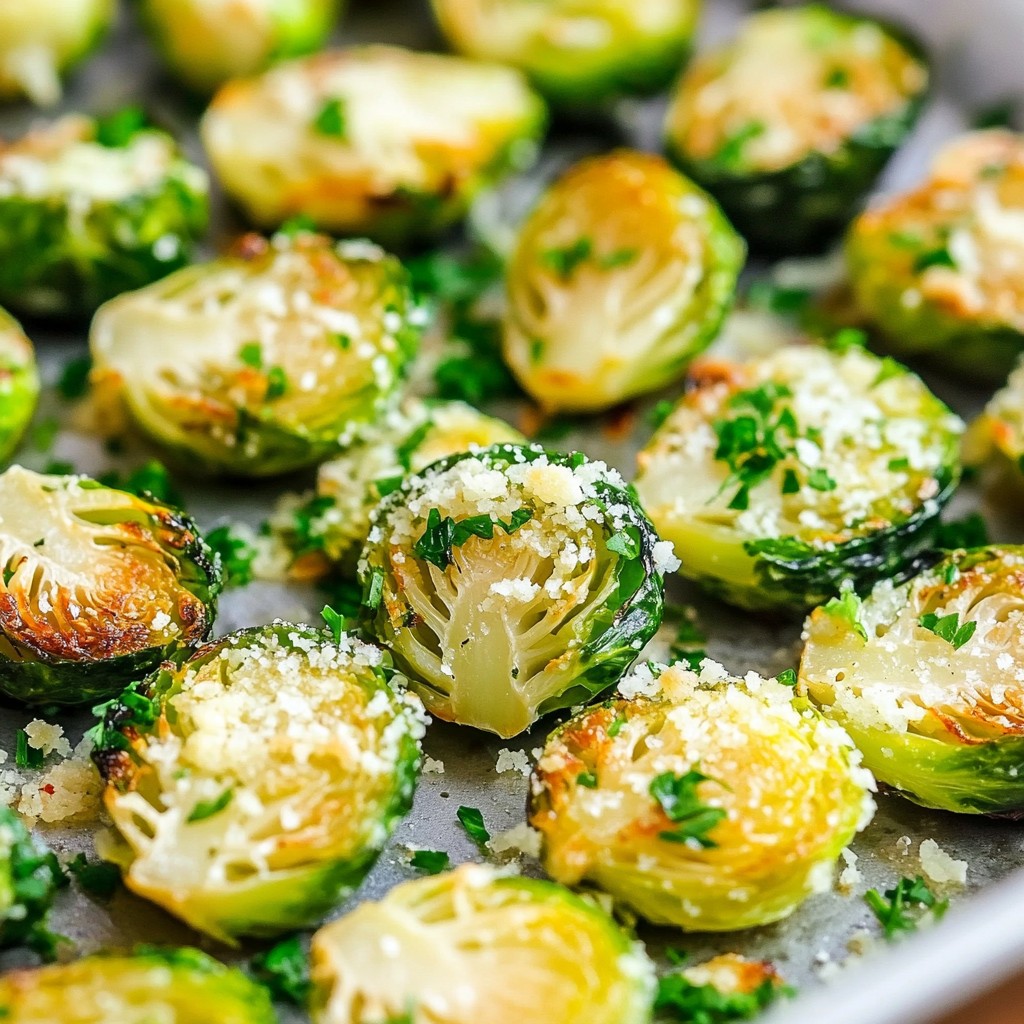
Ideal side dishes include crispy fries or a fresh salad. Add some coleslaw for crunch. Serve everything on a large platter, garnished with sesame seeds and green onions. This makes your meal look amazing!
Pro Tips
- Marinate for Maximum Flavor: For the best flavor, marinate the chicken tenders for at least 2 hours. This allows the spices to penetrate the meat deeper, resulting in a more flavorful dish.
- Use a Thermometer: To ensure your chicken tenders are perfectly cooked, use a meat thermometer. They should reach an internal temperature of 165°F (75°C) for safety and juiciness.
- Keep the Oil Hot: Maintaining the oil temperature is crucial for achieving crispy chicken. If the oil is too cool, the tenders will absorb more oil and become soggy.
- Customize the Spice Level: Adjust the amount of sriracha in the marinade to suit your taste. You can also add cayenne pepper or red pepper flakes for an extra kick!
Variations
Healthier Options
You can make oven-baked spicy honey garlic tenders. This option cuts down on oil and fat. Here’s how:
- Preheat your oven to 400°F (200°C).
- After breading, place the tenders on a baking sheet.
- Spray them lightly with cooking oil.
- Bake for 20-25 minutes, flipping halfway.
You can also substitute ingredients. For a lighter sauce, use agave nectar instead of honey. You can use low-sodium soy sauce for a healthier option.
Flavor Variations
Spice things up by adding different spices. Try cayenne pepper for extra heat. You can mix in garlic powder for a deeper garlic flavor.
Using other types of sauces can change the taste. Swap the honey for maple syrup for a sweet twist. You can use teriyaki sauce for a savory flavor.
Cooking Method Alternatives
Want to try something new? Use an Instant Pot or air fryer. For the Instant Pot, pressure cook the chicken for 10 minutes. Then, bread and bake it for a crispy finish.
For an air fryer, cook at 375°F (190°C) for about 15 minutes. Flip halfway for even cooking.
Grilling is another fun method. Marinate the chicken as usual. Then, grill over medium heat for about 6-8 minutes per side. This gives a nice smoky flavor.
Storage Info
Storing Leftovers
To store your spicy honey garlic chicken tenders, place them in a shallow, airtight container. This keeps them fresh and prevents drying out. You can also wrap them tightly in plastic wrap or foil. In the fridge, they last about 3 to 4 days. Make sure to let them cool completely before storing.
Reheating Techniques
To reheat these chicken tenders while keeping them crispy, use an oven or an air fryer. Preheat the oven to 375°F (190°C). Place the chicken on a baking sheet and heat for about 10-15 minutes. If using an air fryer, set it to 375°F (190°C) and heat for about 5-7 minutes. Avoid microwaving them, as that can make them soggy. Always check that they are heated to at least 165°F (75°C) for safety.
Freezing Instructions
To freeze your chicken tenders, let them cool completely first. Arrange them in a single layer on a baking sheet and freeze for about 1 hour. Once frozen, transfer them to a freezer-safe bag or container. They can last in the freezer for up to 3 months. When ready to enjoy, thaw them in the fridge overnight before reheating. This will help keep them moist and tasty.
FAQs
What can I serve with spicy honey garlic chicken tenders?
You can pair these chicken tenders with many tasty sides. Here are some great options:
- Coleslaw: The crunchiness balances the tender chicken.
- French fries: Crispy fries are always a hit.
- Rice: White or brown rice soaks up the sauce well.
- Vegetable stir-fry: Fresh veggies add color and nutrition.
- Dipping sauces: Consider ranch, blue cheese, or extra honey-garlic sauce.
These sides will make your meal more exciting and satisfying!
Can I make these chicken tenders gluten-free?
Yes, you can easily make these chicken tenders gluten-free! Here are some tips:
- Flour: Use gluten-free all-purpose flour instead of regular flour.
- Breadcrumbs: Look for gluten-free panko or crushed gluten-free crackers.
- Soy sauce: Choose gluten-free soy sauce or tamari for the marinade.
These swaps keep the flavor while making the dish suitable for gluten-sensitive eaters.
How do I adjust the recipe for more servings?
To make more servings, simply scale up the ingredients. Here’s how:
- Chicken: Increase the amount of chicken tenders as needed.
- Marinade: Use more honey, garlic, soy sauce, and sriracha in the same ratio.
- Breading ingredients: Adjust flour, eggs, and breadcrumbs based on the chicken you use.
This way, everyone can enjoy the spicy honey garlic goodness!
What's the best way to check if chicken is cooked through?
To ensure your chicken is safe to eat, check its internal temperature. Here’s how:
- Meat thermometer: Insert it into the thickest part of a tender. It should read 165°F (75°C).
- Visual cues: The chicken should be golden brown, and juices should run clear.
Using these methods, you can be confident your chicken is cooked just right!
You learned how to make tasty spicy honey garlic chicken tenders. We covered key ingredients, marinating time, and frying tips. Perfecting the bite and achieving a crispy coating are key steps. You explored variations like oven-baked and gluten-free options. Storing and reheating tips help you enjoy leftovers.
I hope you feel ready to make these tenders at home. Enjoy your cooking!