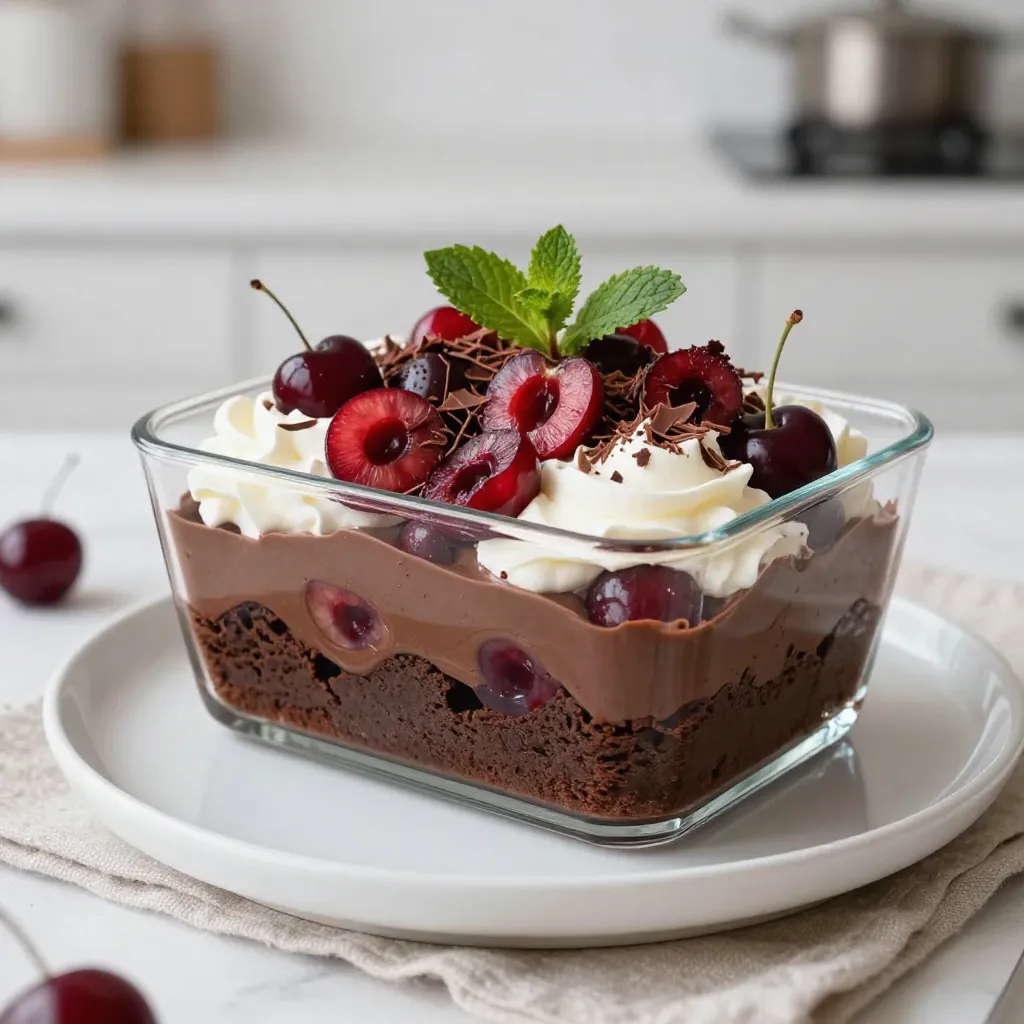
Get ready to indulge in the ultimate sweet treat! My Chocolate Cherry Brownie Trifle combines rich brownies, luscious cherries, and fluffy whipped cream into one stunning dessert. Whether it’s for a special occasion or just because, this trifle will impress everyone. Join me as I guide you through easy steps, must-have ingredients, and tips to create this decadent delight in your own kitchen. Let’s dive in!
Why I Love This Recipe
- Decadent Layers: The combination of rich chocolate brownies, creamy pudding, and fluffy whipped cream creates a truly indulgent dessert experience.
- Fresh Cherry Flavor: Using fresh or frozen cherries adds a burst of fruity flavor that perfectly balances the sweetness of the chocolate.
- Beautiful Presentation: Layering the ingredients in a glass trifle dish makes for a stunning visual display, perfect for any occasion.
- Make-Ahead Convenience: This trifle can be prepared in advance, allowing you to enjoy quality time with guests while the dessert chills in the fridge.
Ingredients
Essential Components
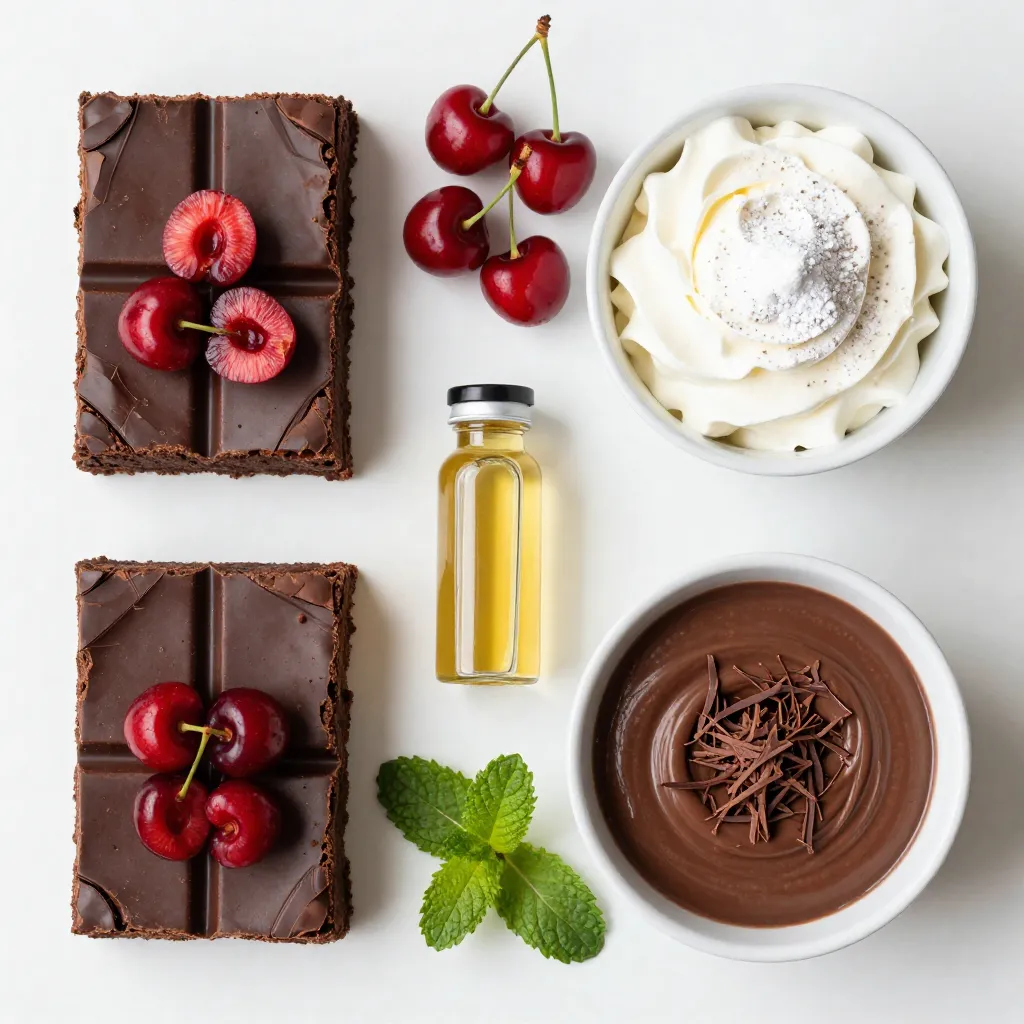
To make a Chocolate Cherry Brownie Trifle, you’ll need these key ingredients:
– 1 batch of homemade brownies (or store-bought, about 9×9 inch pan)
– 2 cups fresh or frozen cherries, pitted and halved
– 1 cup heavy whipping cream
– ½ cup powdered sugar
– 1 teaspoon vanilla extract
– 1 cup chocolate pudding (store-bought or homemade)
– ½ cup chocolate shavings (for garnish)
– Fresh mint leaves (for garnish)
These ingredients come together to create rich flavors and textures. The brownies add a soft base, while the cherries bring a nice tartness. The whipped cream and chocolate pudding provide smooth layers that make each bite delightful.
Optional Add-ins
Feel free to personalize your trifle with these optional add-ins:
– A splash of cherry juice for extra cherry flavor
– Nuts like walnuts or pecans for crunch
– A drizzle of chocolate sauce for added sweetness
Using these add-ins can take your trifle to the next level. Experiment and find what you love best.
Equipment Needed
Gather these tools to make your trifle easy to assemble:
– A large glass trifle dish or individual serving cups
– Mixing bowls for the cream and cherries
– A whisk or electric mixer for whipping the cream
– A sharp knife for cutting brownies
Having the right equipment simplifies the process. You’ll create a stunning dessert with ease!
Step-by-Step Instructions
Preparing the Brownies
Start by making the brownies. You can use a homemade recipe or store-bought ones. If you choose homemade, bake them first. Follow your favorite recipe and let them cool. Once cool, cut the brownies into bite-sized cubes. If using store-bought, simply open the package and cut them into cubes, too.
Making the Cherry Filling
Next, it’s time for the cherry filling. Take 2 cups of fresh or frozen cherries. Make sure they are pitted and halved. Place them in a medium bowl and add 2 tablespoons of powdered sugar. Gently toss the cherries to mix in the sugar. Let them sit for about 15 minutes. This will help the cherries release their juices and become even more flavorful.
Whipping the Cream
Now, let’s whip the cream. In a large mixing bowl, pour in 1 cup of heavy whipping cream. Add the remaining powdered sugar and 1 teaspoon of vanilla extract. Begin beating the cream with an electric mixer. Watch closely; you want soft peaks to form. Be careful not to overbeat, or the cream will turn into butter.
Assembling the Trifle
It’s time to layer all the delicious components. Grab a large glass trifle dish or individual cups. Start with a layer of brownie cubes at the bottom. Next, add a layer of chocolate pudding. After that, layer on the cherry mixture. Finally, top it off with a layer of whipped cream. Repeat these layers until you fill the dish or cups, ending with whipped cream on top.
Chilling Requirements
Now, cover your trifle with plastic wrap. Place it in the fridge for at least 2 hours. This chilling time lets the flavors blend and the layers set perfectly. When you are ready to serve, take it out and enjoy the delightful layers you’ve created!
Tips & Tricks
Perfecting the Whipped Cream
To get the best whipped cream, start with cold tools. Use a chilled bowl and beaters. This helps the cream whip faster and stay fluffy. Mix the heavy cream with powdered sugar and vanilla extract. Beat until soft peaks form. Be careful not to overbeat. If you do, the cream can turn into butter.
Layering to Create Visual Appeal
Layering is key to making your trifle look great. Start with brownie cubes at the bottom. This gives a strong base. Then, add a layer of chocolate pudding. Next, spoon in the cherry mixture. Finally, top it with whipped cream. Repeat this until you fill your dish.
Using clear glass dishes makes the layers pop. You can see the dark chocolate, bright cherries, and fluffy cream. For a fun touch, add a cherry on top. This adds color and makes it look fancy.
Serving Suggestions
For the best experience, chill the trifle for at least 2 hours. This helps the flavors mix well. Serve it cold. Garnish with chocolate shavings and fresh mint leaves right before serving. This adds a nice touch.
You can serve the trifle in individual cups for easy sharing. It’s perfect for parties or family dinners. Everyone loves a tasty dessert that looks beautiful!
Pro Tips
- Use Quality Ingredients: The flavor of your trifle is only as good as the ingredients you use. Opt for high-quality chocolate and fresh cherries for the best results.
- Chill Before Serving: Allowing the trifle to chill for a few hours helps the flavors meld, resulting in a more delicious dessert.
- Experiment with Layers: Feel free to get creative with the layers! Consider adding crushed cookies or alternate fruits for a unique twist.
- Presentation Matters: Serve the trifle in clear glass dishes to showcase the beautiful layers, and don’t forget to garnish with mint for a pop of color.
Variations
Different Fruit Options
You can change the fruit in this trifle to suit your taste. Try strawberries or raspberries for a fun twist. Blueberries also work well and add a nice color. If you want a tropical vibe, use diced pineapple or mango. Each fruit brings its own flavor, making your trifle unique. Just make sure to prepare the fruit the same way you do for cherries.
Alternative Pudding Flavors
If chocolate pudding isn’t your favorite, you have options. Vanilla pudding gives a nice contrast to the chocolate and cherries. Butterscotch pudding adds a sweet, rich flavor that pairs well with the brownies. You can also try caramel pudding for a dessert that is both sweet and salty. Feel free to mix and match puddings to create your perfect dessert.
Gluten-free or Vegan Adaptations
You can easily make this trifle gluten-free. Just use gluten-free brownies instead of regular ones. Many stores sell good gluten-free options. For a vegan version, swap the heavy cream for coconut cream or a plant-based whipped topping. Use dairy-free pudding to keep it vegan. These adaptations let everyone enjoy this tasty treat!
Storage Info
How to Store Leftovers
To keep your chocolate cherry brownie trifle fresh, cover it tightly. Use plastic wrap or a lid to seal it. Store the trifle in the fridge. It can last for up to three days. The flavors will blend and become even better over time. Just make sure it stays covered to avoid drying out.
Best Practices for Freezing
Freezing the trifle is tricky but doable. I recommend freezing the brownie cubes and cherry filling separately. This way, you keep the texture. When you want to serve, layer them fresh. If you freeze the whole dish, the whipped cream may lose its fluffiness. It’s best to add that layer fresh before serving.
Using Leftover Ingredients
If you have extra ingredients, use them in fun ways! Leftover cherries can top yogurt or oatmeal. You can also mix chocolate pudding into smoothies. The leftover whipped cream is great on pancakes or hot cocoa. Be creative and enjoy every part of your dessert!
FAQs
Can I use store-bought brownies?
Yes, you can use store-bought brownies. They save time and still taste great. Just make sure to cut them into cubes like homemade brownies. You want to keep the texture nice for layering in the trifle.
How long can the trifle be kept in the fridge?
You can keep the trifle in the fridge for up to three days. The layers stay fresh, but the longer it sits, the softer the brownies become. Enjoy your trifle within those days for the best taste.
Can I make this dessert in advance?
Absolutely! You can make the trifle a day ahead. Just layer it and chill it in the fridge. This waiting time helps the flavors blend well. When it’s time to serve, just add your garnishes.
What can I substitute for heavy cream?
If you need a substitute for heavy cream, you can use coconut cream. It adds a nice flavor and still whips well. You can also try using half-and-half or a non-dairy milk mixed with cornstarch.
In this blog, we covered how to make a delicious trifle with brownies and cherry filling. We discussed essential ingredients, step-by-step instructions, and helpful tips. You can create variations and store any leftovers easily.
This dessert looks great and tastes even better. Enjoy the process, and don’t hesitate to experiment with flavors. A homemade trifle is a treat everyone will lov